 Paris-themed Lift Top Coffee Table
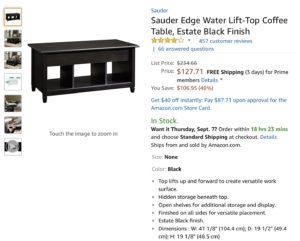
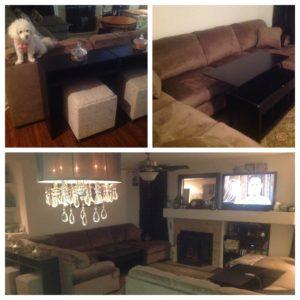
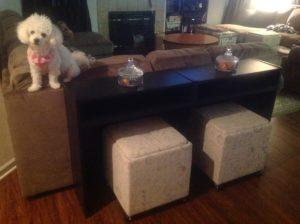
You’ve all seen those nifty lift top coffee tables that bring your meal, crossword puzzle, or laptop right up to your comfy seat. Since we love eating in our family room/tv room/home theater room, prefer laptops and tablets, hate desks, and we love our comfy sectionals – getting a couple of these made a lot of sense. Problem is the cheap ones are usually super ugly and the nice ones are usually super expensive. So, like many things in our home, I chose to buy inexpensive pieces and customize them. I started with two of these basic black coffee tables from Amazon. The plan was to have them face opposite of each other in front of our opposite facing sectionals. I also wanted the color and style to match the behind the sofa tables I made from cheap bookshelves.
Before
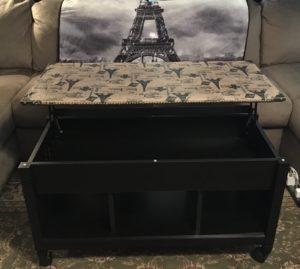
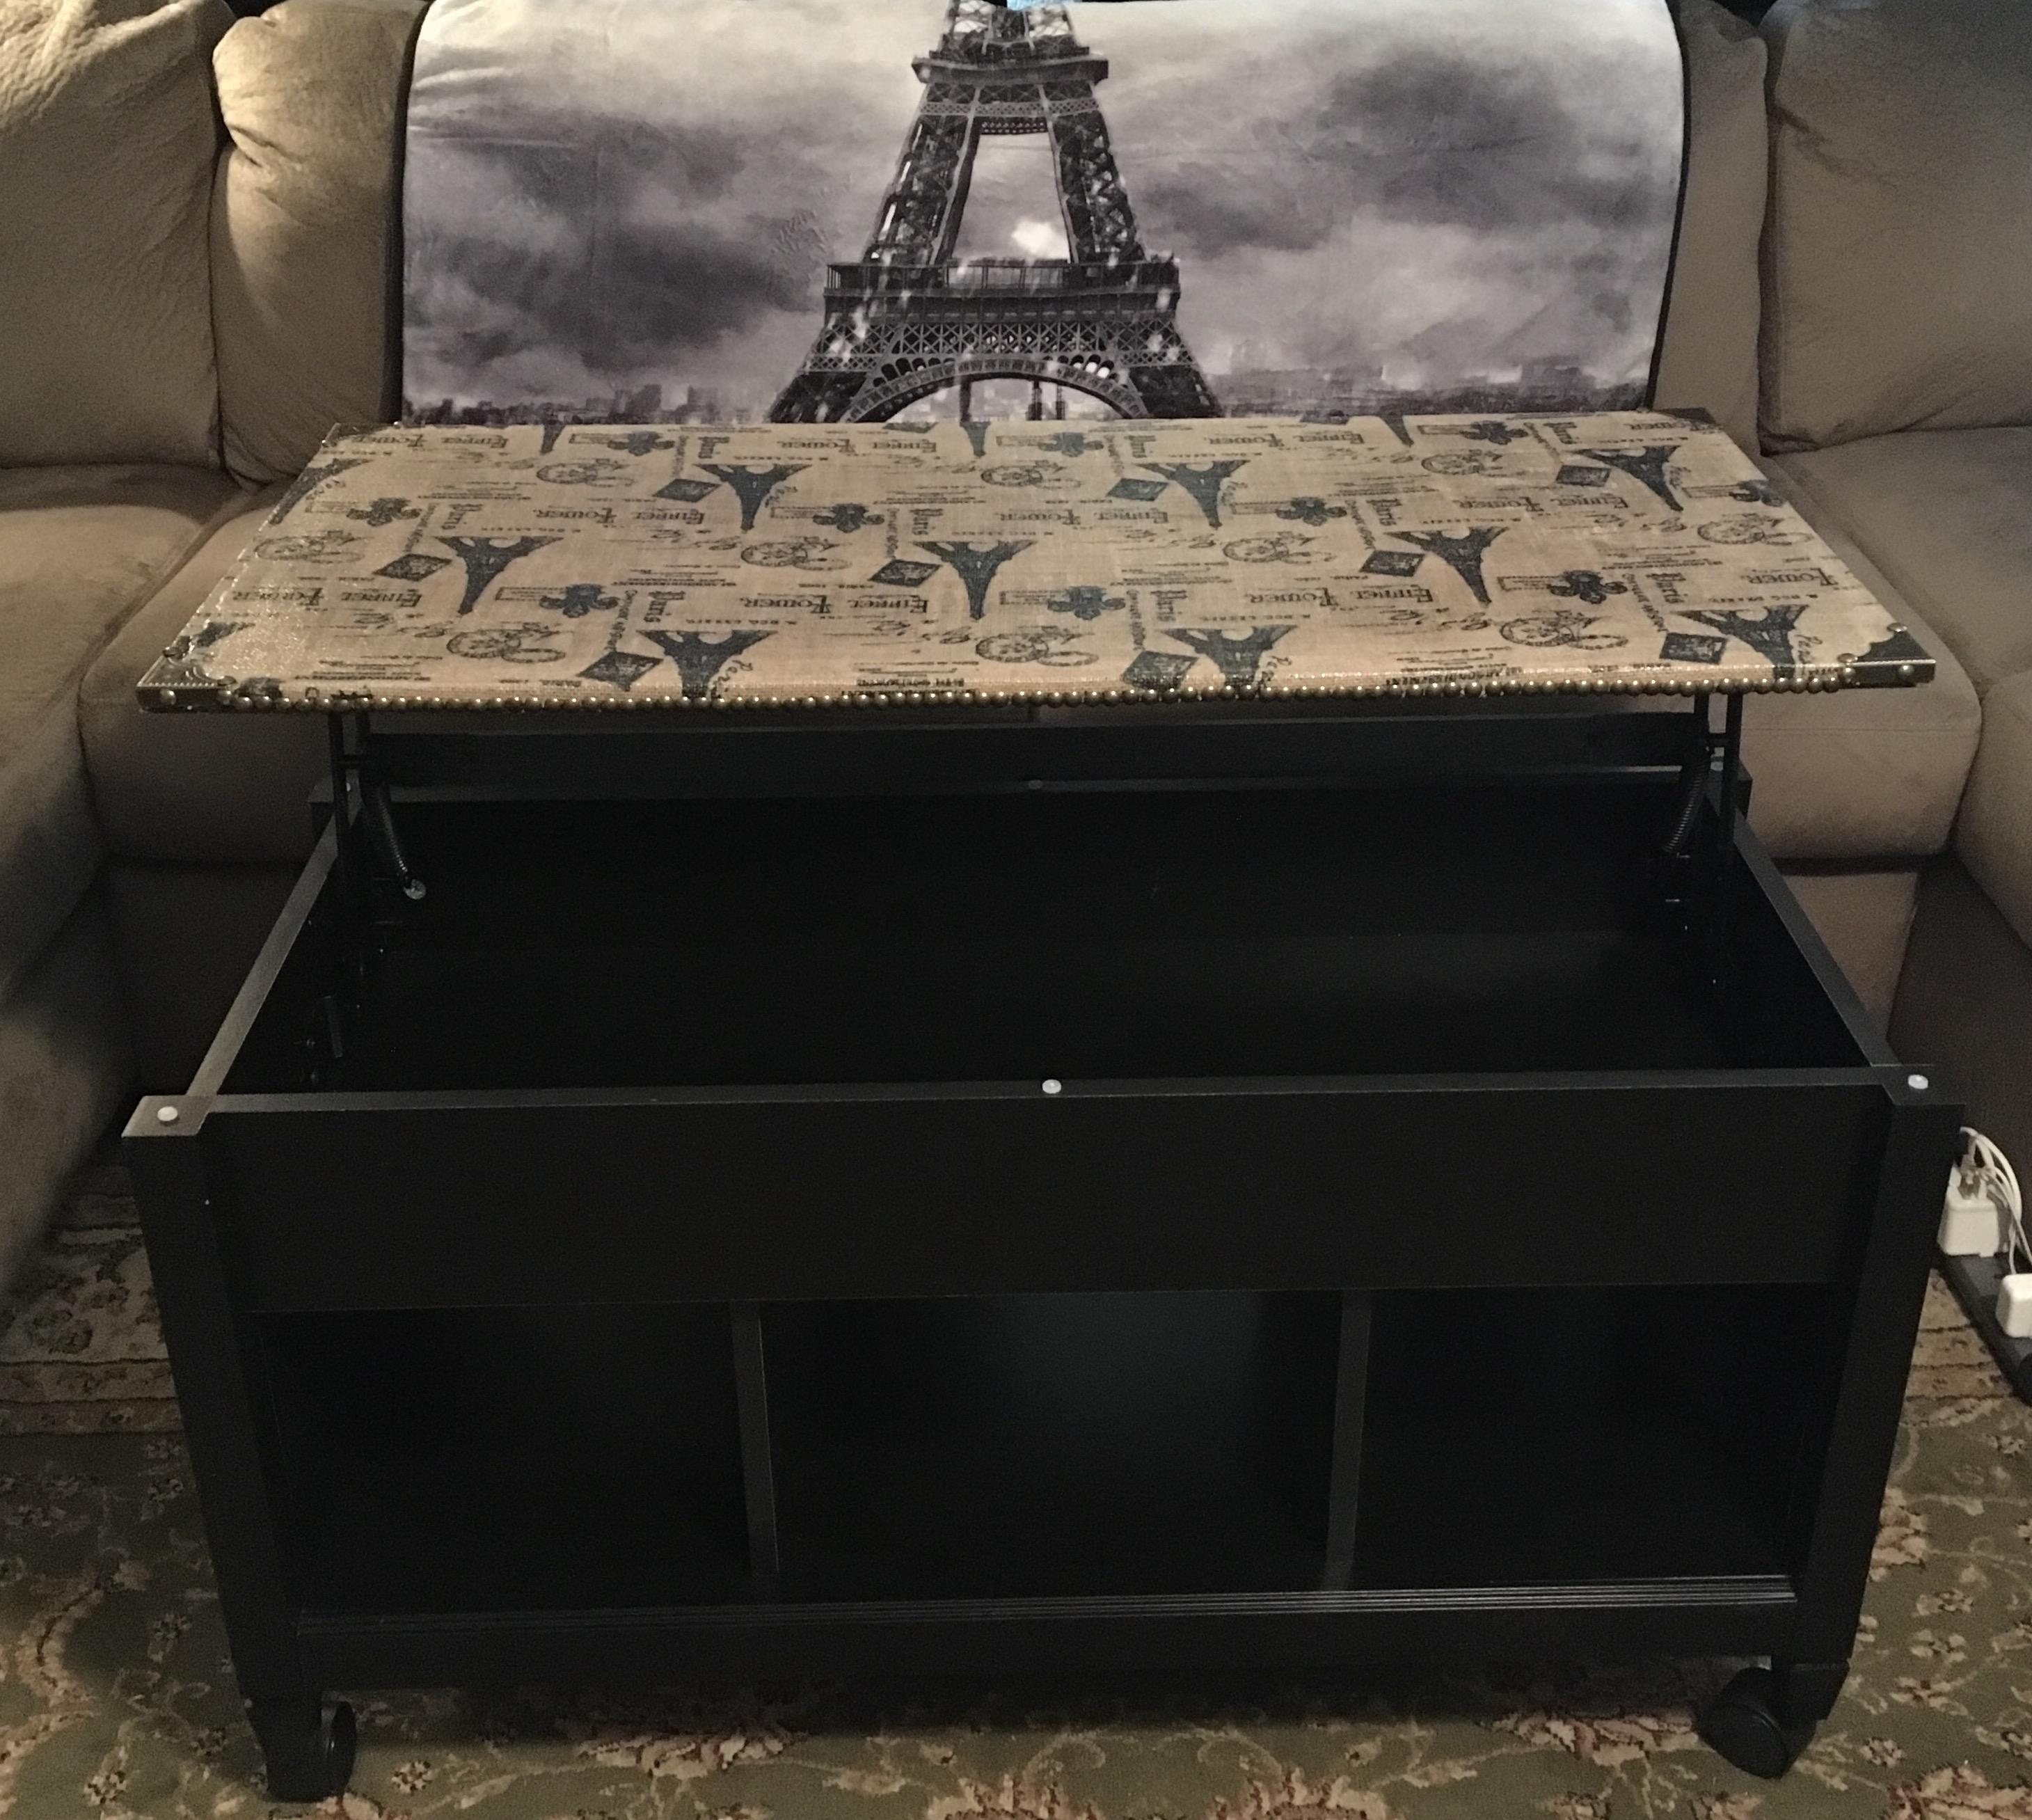
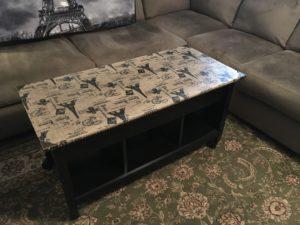
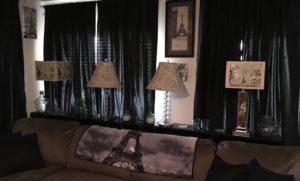
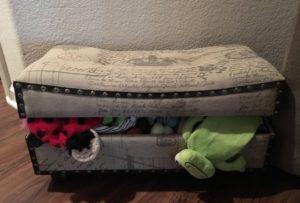
I wanted Paris themed tables to match out Paris themed ottomans and lamp shades.
Cost per coffee table (everything was ordered from Amazon except fabric)
$130 coffee table
$15 bronze corners and nailheads
$12 mod podge (orange bottle – luster/glue/sealer, blue bottle super gloss/brilliant)
$5 caster wheels (the table has holes in the feet that allow this)
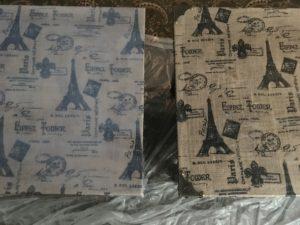
$3 fabric
Total: $165
Other things used for the project
Exacto knife and/or scissors*
Clamps to hold fabric*
Brushes to brush on mod podge*
Old credit card to smooth mod podge*
Soft Hammer* ( metal hammer scratches nailheads)
* – not included in total because these are things most people have
Tip: if you don’t have a soft hammer, you can attach some felt furniture feet pads from a dollar store to your regular hammer like I did here. When finished, they come off easily with hot soapy water.

STEPS
1. Cut fabric to slightly overlap table and mod podge it to the top and the sides of the top. I used some clamps to hold it while cutting and getting the glue process started. I used an old credit to smooth out bubbles in the fabric.
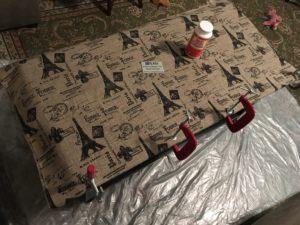
2. After the fabric is glued down well and dry (I let it dry overnight) – use exacto knife or scissors to trim the edges. I reapplied the mod podge/glue to areas that didn’t stick well on the edges.
3. Then, I used the super gloss mod podge on the top to get a better protective coat. The gloss will look milky when wet, but dries clear.
4. I nailed the bronze corners to the corners, using some of the fancy nail heads, instead of the tiny nails that came with them.
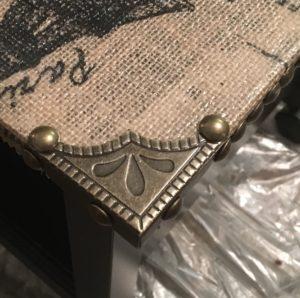
5. I nailed the bronze nail heads to the edges.
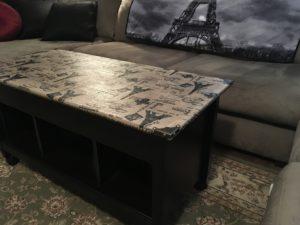
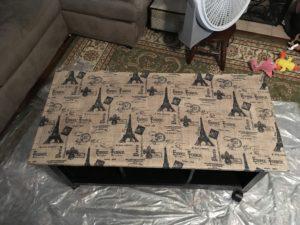
The finished product