Frame Your Bathroom Mirror
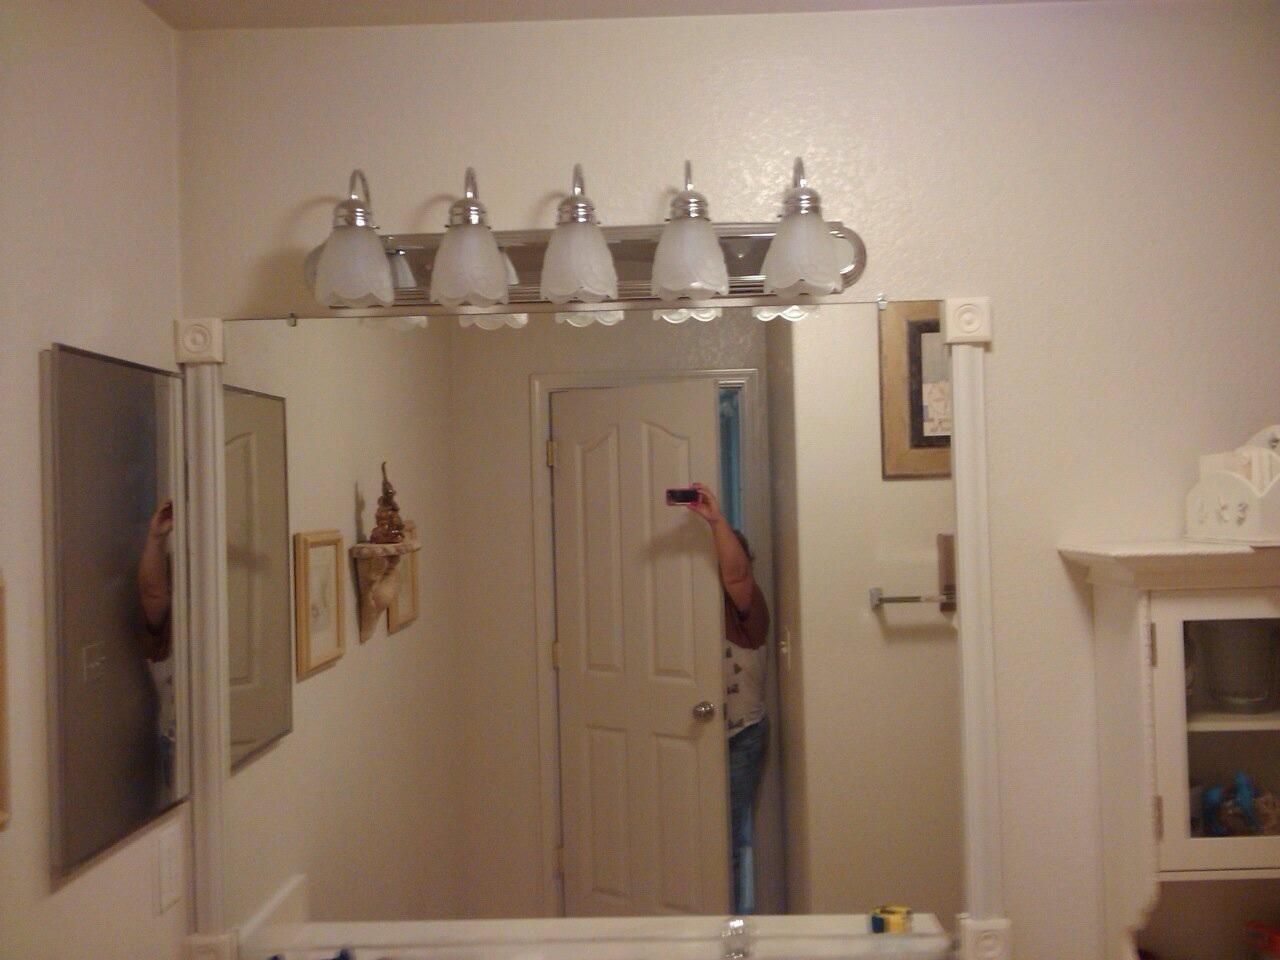
Our downstairs guest bathroom was typical builder grade with a sink in the vanity, a toilet, and a tub/shower combo. There was nothing wrong with it, except that it was boring. I am really bad at taking before pictures, and I really need to fix that! I doubt one exists, but if I find one, I will add it to this post later on. This photo is actually of the upstairs bathroom, which looks exactly the same as the downstairs bathroom. Well, it did.
I wanted to frame the builder grade bathroom mirror and make it look all fancy and like a real mirror like in all the Pinterest posts, but I didn’t want to saw mouldings, deal with mitering corners, cut notches for the little plastic tabs, paint, spend very much time on the task, or spend very much money!
Ha…you laugh !
But – I did it !
This can be done in one afternoon – honest
Step 1. Measure. I started by measuring the guest bathroom mirror. Twice to make sure. Always measure twice. You must measure the exact mirror you plan to frame. We have 3 of these in our house, and all 3 are different sizes.
Step 2. Moulding. There are many styles of moulding – choose the one that speaks to you. I took the shortcut of having Home Depot cut primer white strips of moulding to the exact lengths I needed. I really wanted to use a fairly wide moulding all around, but the mirror was too close to the corner of the wall on the left side. I compromised and did the thicker moulding on the top and bottom and a little thinner on the sides.
Tip: They charge the same price for the moulding whether you cut it or they do – let them – the pieces fit in the car much better and you have less mess and less stress! It is better to have cuts a tiny bit longer rather than shorter. You can always sandpaper off a bit if need be.
Step 3. Clips and corners. I purchased flat metal mirror clips to replace the bulky plastic tabs that held the mirror in place. I did not have to cut notches for these, they were flat enough that I was able to glue the moulding right over them.
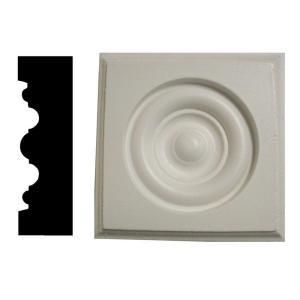
I bought 4 of these corner block rosette pieces in white primer for guess what? Yeah, the corners! I told you no mitered corners 🙂
Step 4. Adhesives.
I used this clear Loctite exterior adhesive, applying it with an application gun. You can choose something else, just remember it has to be clear when it dries.
Note: Brown Gorilla Glue is awesome, but it WILL show in the mirror! Let me assure you that this is not a fairy tale – it is true. By the way, nail polisher remover will remove Gorilla Glue and most other colored glue, if you should have a need. We don’t need to go into detail about how or why I know this.
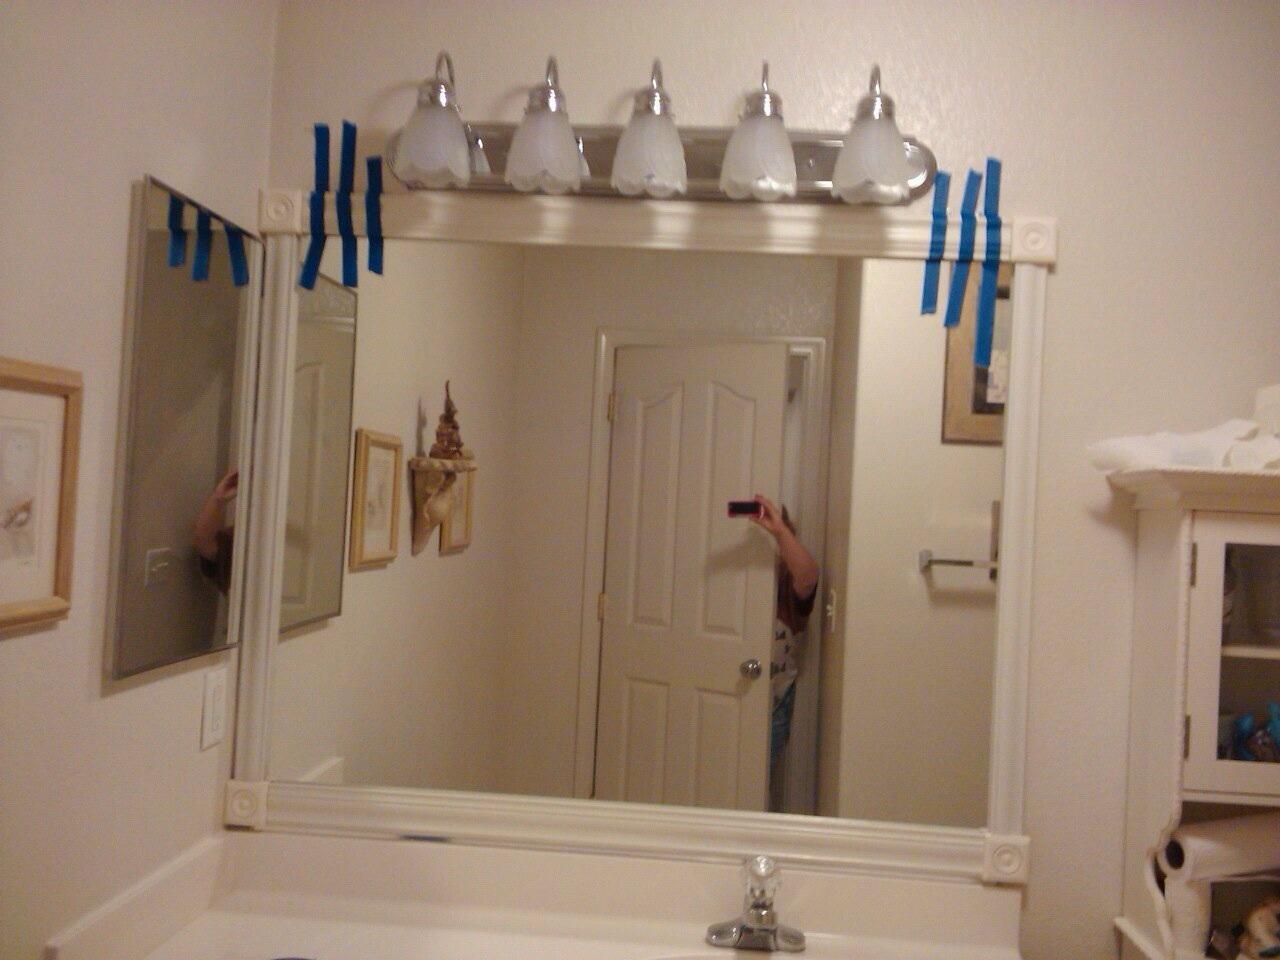
Step 5. Build it. Use the caulking gun directly on the mirror, one edge and one corner at a time, attaching your strips and blocks as you go. Use tape to hold everything in place until it sets. I already had blue painters tape, so I used that to hold the strips of moulding and blocks in place while the glue was setting, but I think most tapes would work.
Step 6. Admire your work and try take a photo without getting yourself in it.
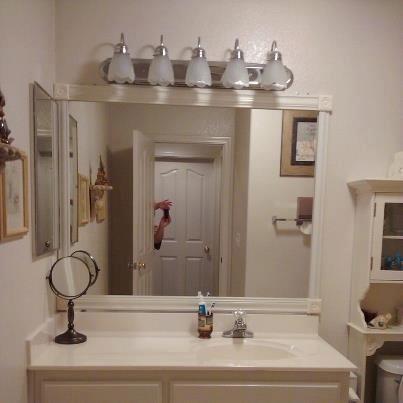
Framing a bathroom mirror can change the whole look of your bathroom.
I really liked this approach to the alternative of prying the existing mirror off the wall. You would have to deal with possible breakage, spackling holes, and painting. Not to mention the cost of buying a new mirror and the chore of hanging it. If you are willing to paint, your frame can be any color you choose. Since all the materials used are primer white, it should only take one quick coat.
After framing the mirror, I decided to paint the builder grade oak vanity – white to match the mirror. When I was done, it was like having a whole new bathroom. Yeah, yeah – I know I said I didn’t want to paint – and I didn’t do any painting for the mirror. When I go into our fresh, white, updated on the cheap guest bath, the painting of the vanity was worth it 🙂
I liked this so much, that I originally planned to do the upstairs guest bath, but now I am conflicted. I saw a picture of someone using little mosaic tiles around the mirror as the frame and I really liked that idea too.
Thanks. It really was easy, I hope you try it. If you do, I’d love to see a picture. Good Luck!
Usually I don’t learn article on blogs, however I wish to say that this write-up very forced me to try and do it! Your writing style has been amazed me. Thanks, very nice post.